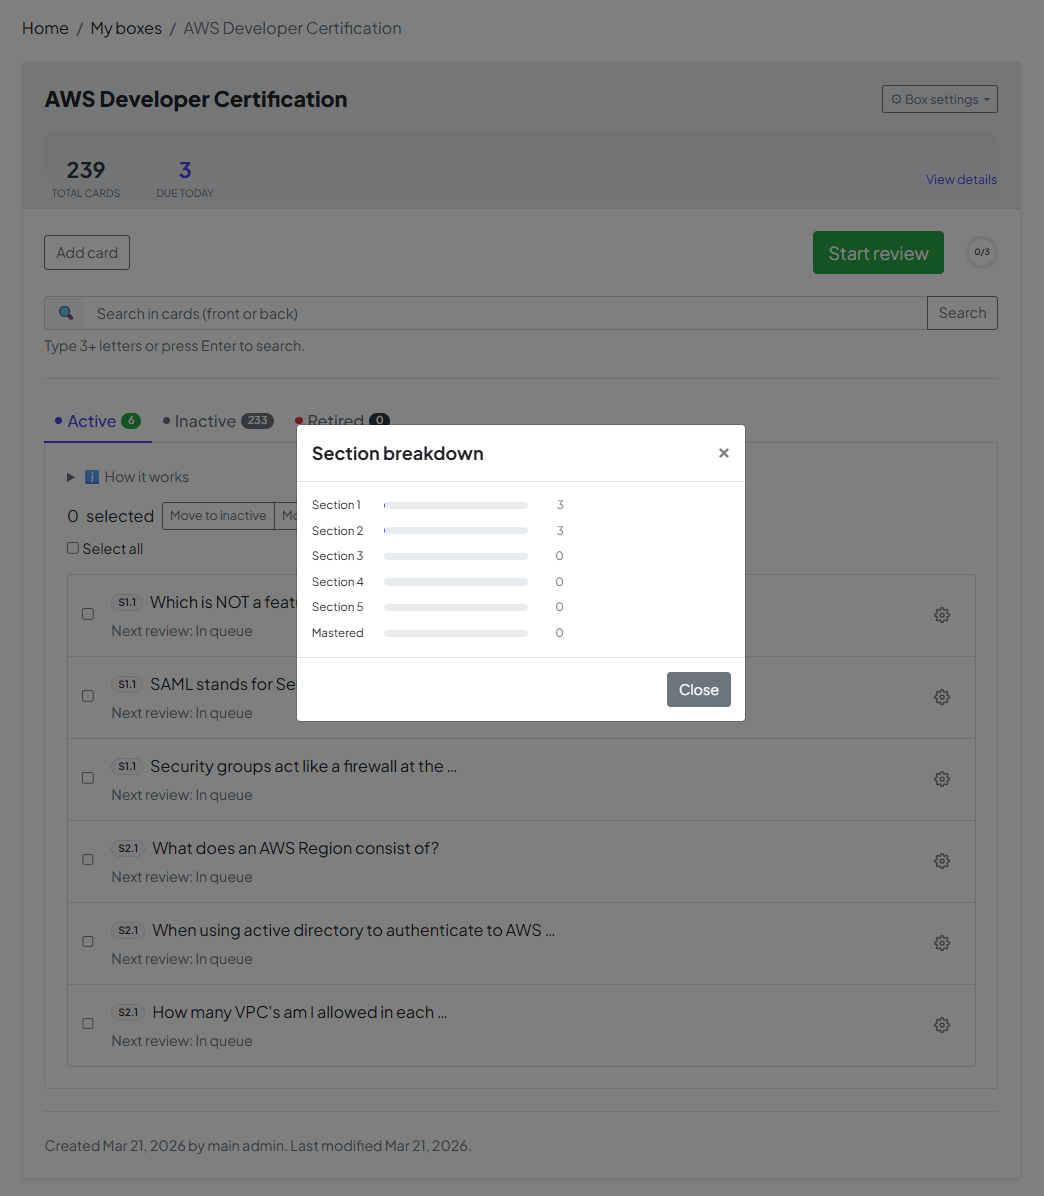
MyLeitnerBox is based on the Leitner method, but implemented with a clear section/subsection structure for spaced repetition.
Core Structure
-
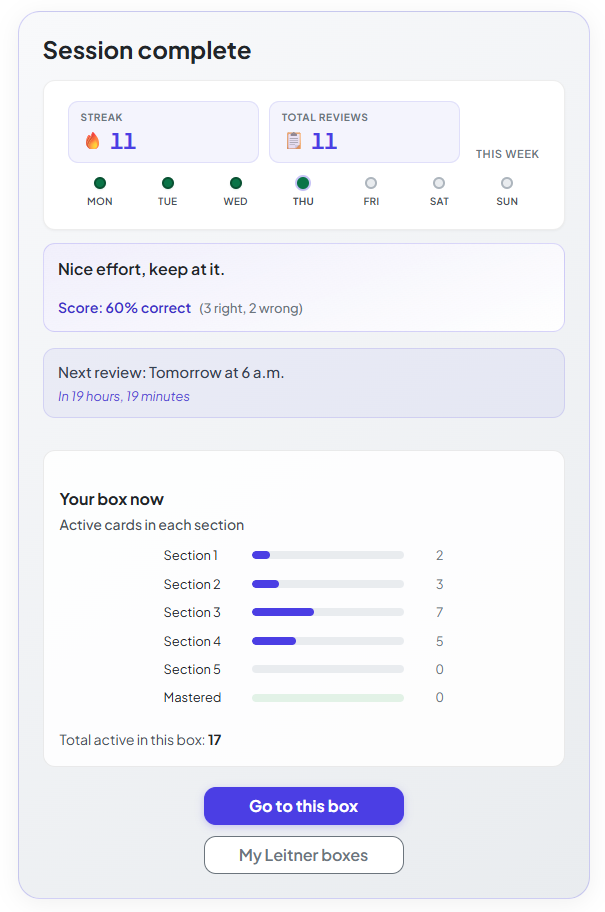
We use 5 sections.
-
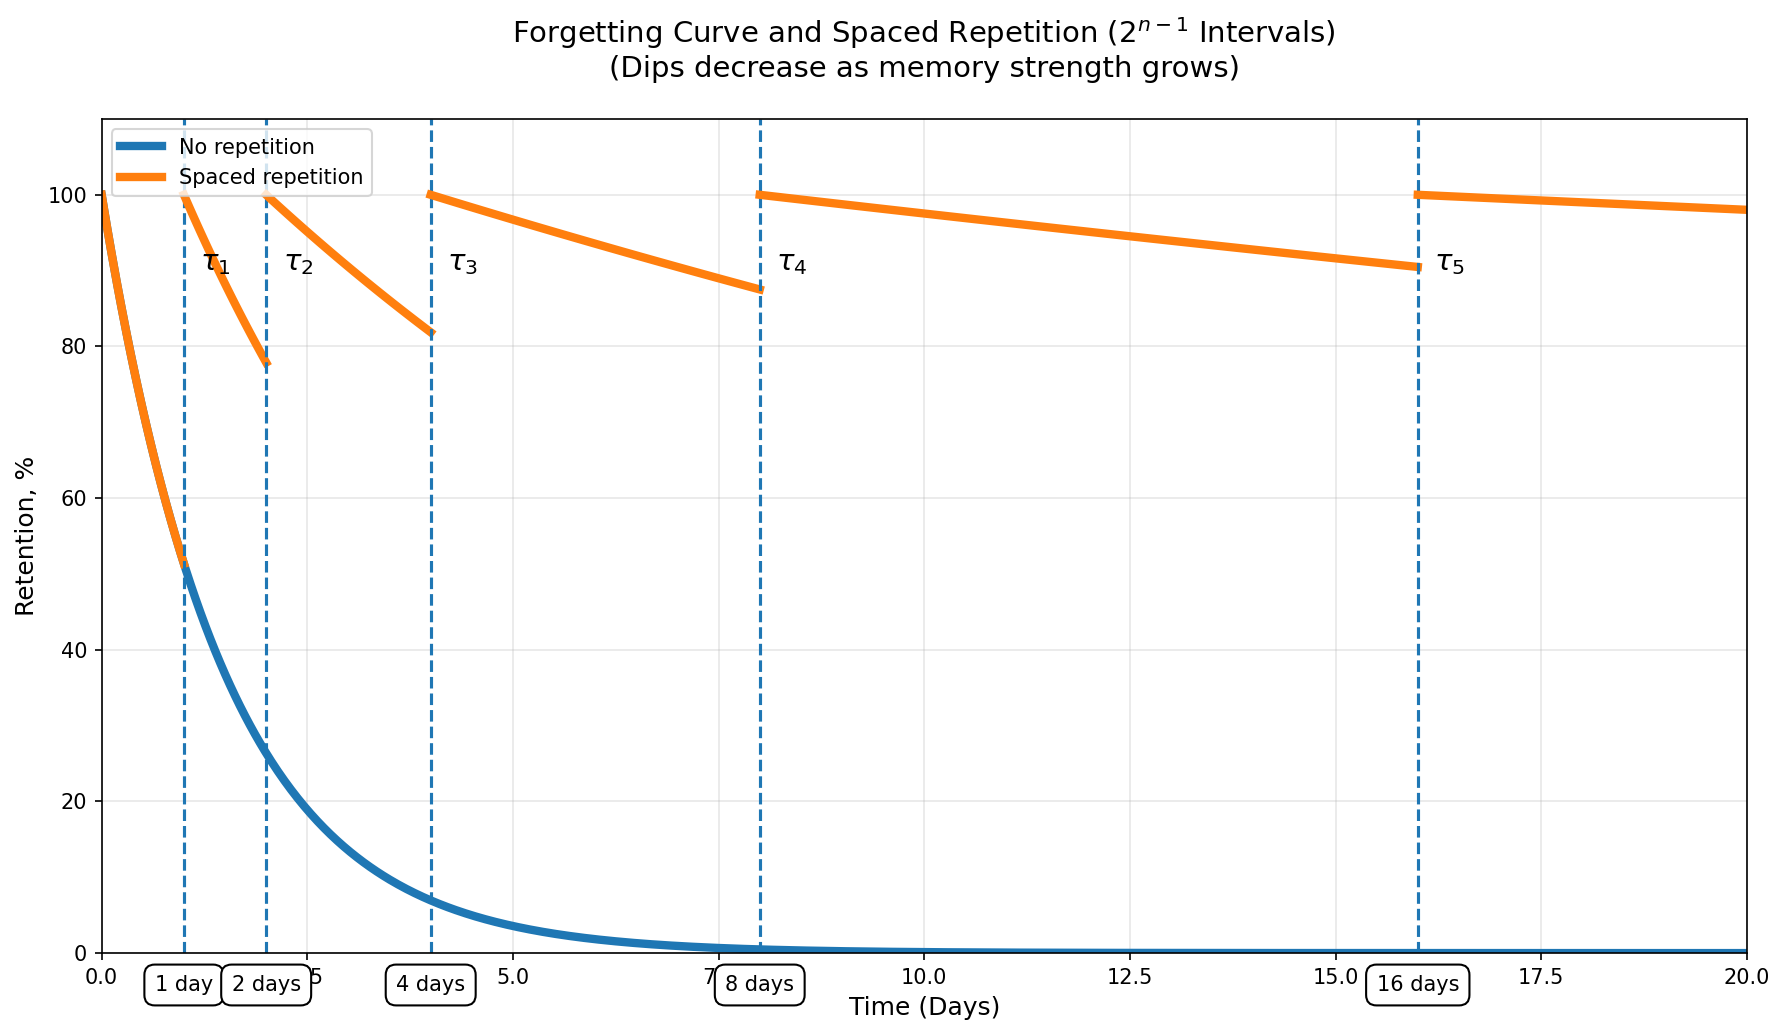
Each section n contains 2^(n-1) subsections.
-
So the review cycle lengths are:
-
Section 1: 2^(1-1) = 1 subsection
-
Section 2: 2^(2-1) = 2 subsections
-
Section 3: 2^(3-1) = 4 subsections
-
Section 4: 2^(4-1) = 8 subsections
-
Section 5: 2^(5-1) = 16 subsections
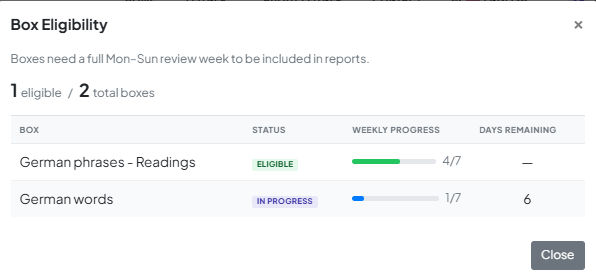
As cards move to higher sections, they are reviewed less frequently.
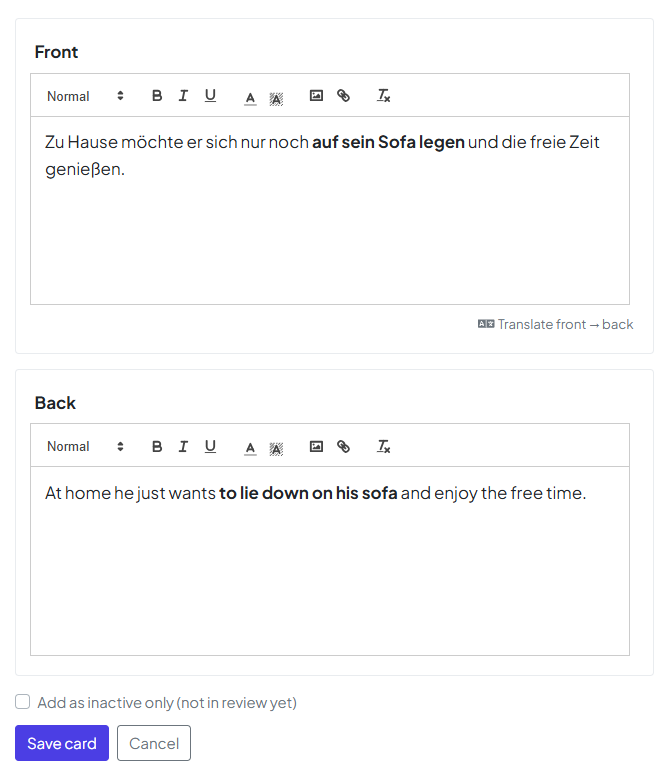
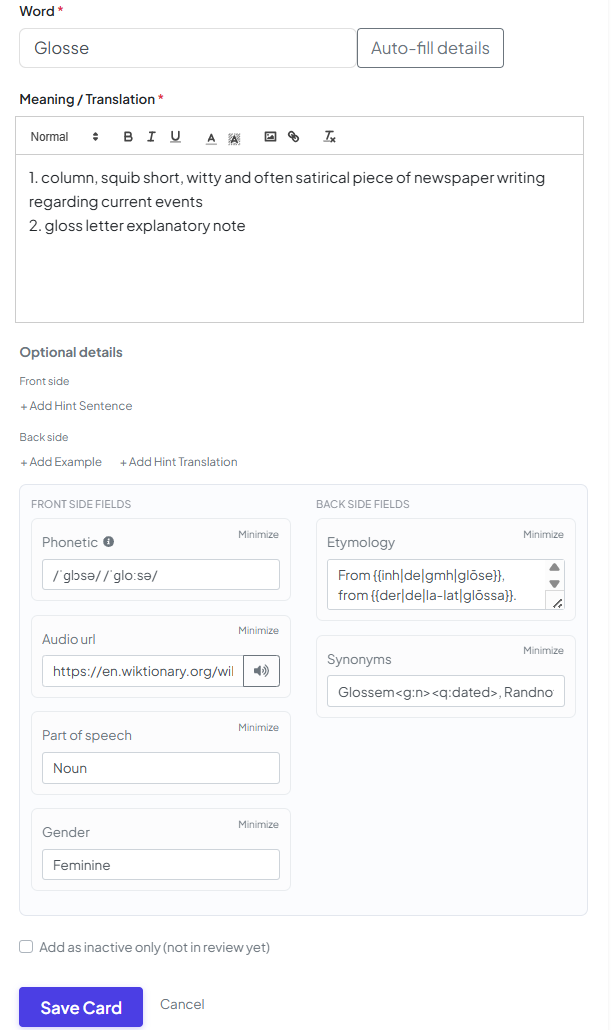
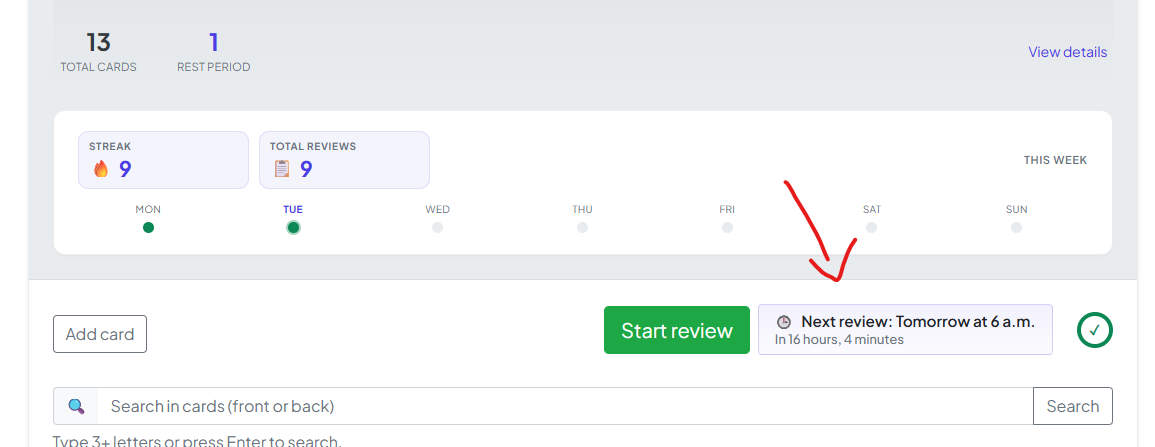
Card States
- Inactive: card exists in the box but is not yet in active review.
- Active: card is in a section/subsection and participates in review.
- Retired: card has completed the full system (graduated from Section 5).
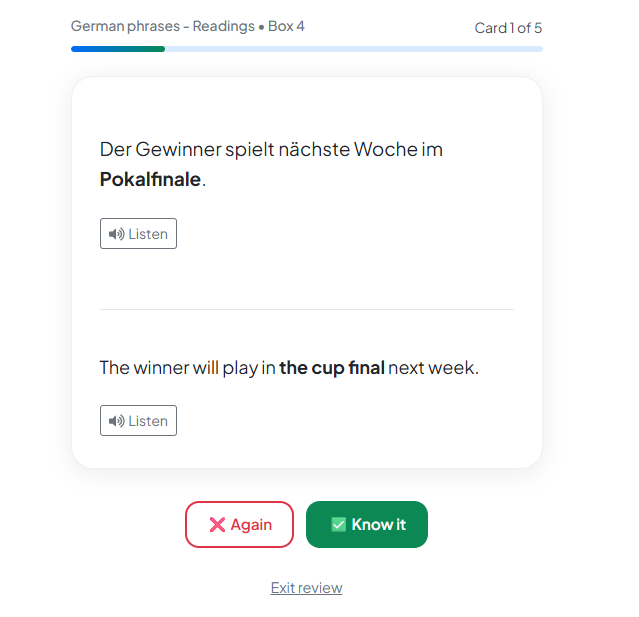
Review Logic
- A card becomes due when it reaches the last subsection of its current section.
- During review:
- Correct -> move to the next section, subsection 1.
- Wrong -> reset to Section 1, subsection 1.
- If a card is answered correctly in Section 5, it becomes Retired.
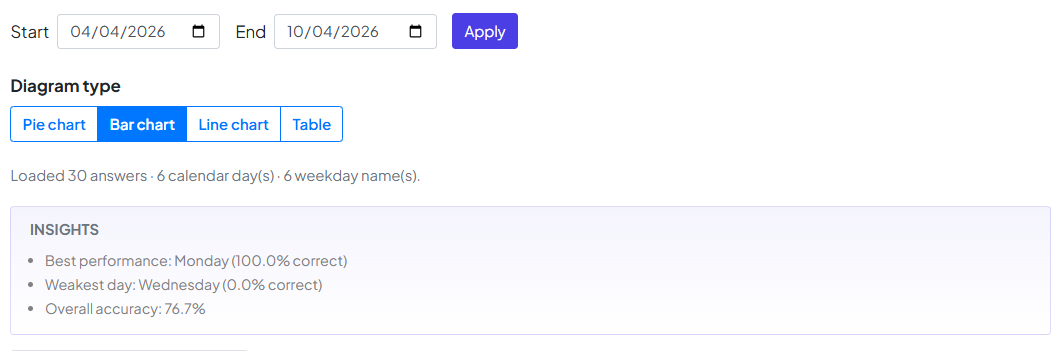
Why this works
This formula-based spacing (2^(n-1)) increases intervals as memory becomes stronger, while still sending difficult cards back to the most frequent review cycle. In practice, you spend more time on weak cards and less time on mastered ones.